Configuring Arista AGNI with Meraki Access Points
A high-level configuration guide for integration AGNI with Meraki AP's using RadSec and MAC based authentication.


Arsita AGNI is a next-generation cloud-based NAC (Network Access Control). In this post, we will utilize MAC-based access control (no encryption) for the simplest configuration example. I will provide a high-level configuration guide for integration AGNI with Meraki AP's.
Each Meraki AP (access point) will establish its own RadSec tunnel back to AGNI. For the tunnel to establish, Meraki must trust AGNI, so a root certificate must be added to the Meraki dashboard. Conversely, AGNI must trust the certificates of the APs, so a Meraki certificate must be uploaded to AGNI. Once this bi-directional trust is established, the SSID can be configured to use RadSec to secure client authentications.
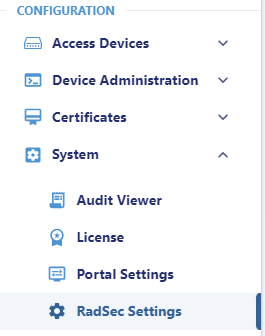
- In the Cloudvision AGNI portal, navigate to
System > RadSec Settings.
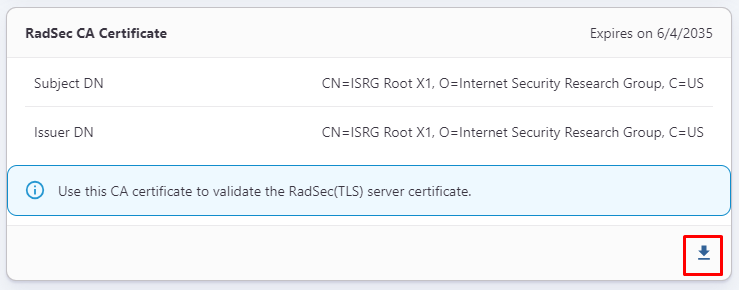
- On the RadSec Settings page, take note of your RadSec Server Hostname.
We will need this later for the Meraki Radius Configuration. - Under the RedSec CA Certificate, select the download icon.
- In the Meraki Dashboard, select the network your access points are configured in. Then select Organization > Certificates.
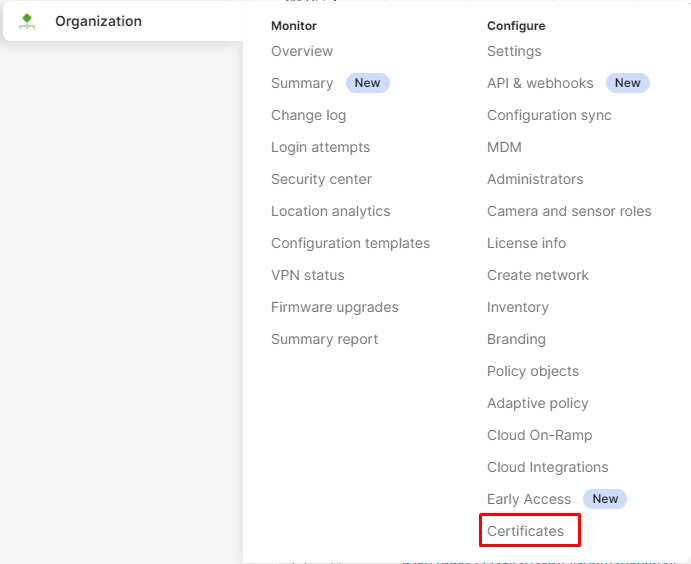
If the certificates menu item is missing, you will need to upgrade your wireless firmware to at least 30.5
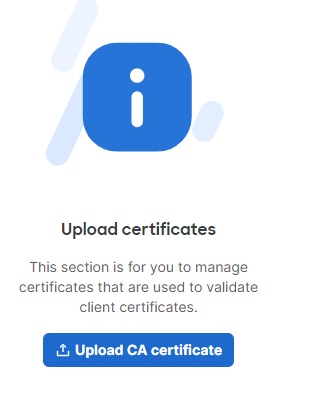
- On the Meraki Certificates page, select Upload CA Certificate. On the browse dialog, select the radsec_ca_certificate.pem file that was downloaded from AGNI.
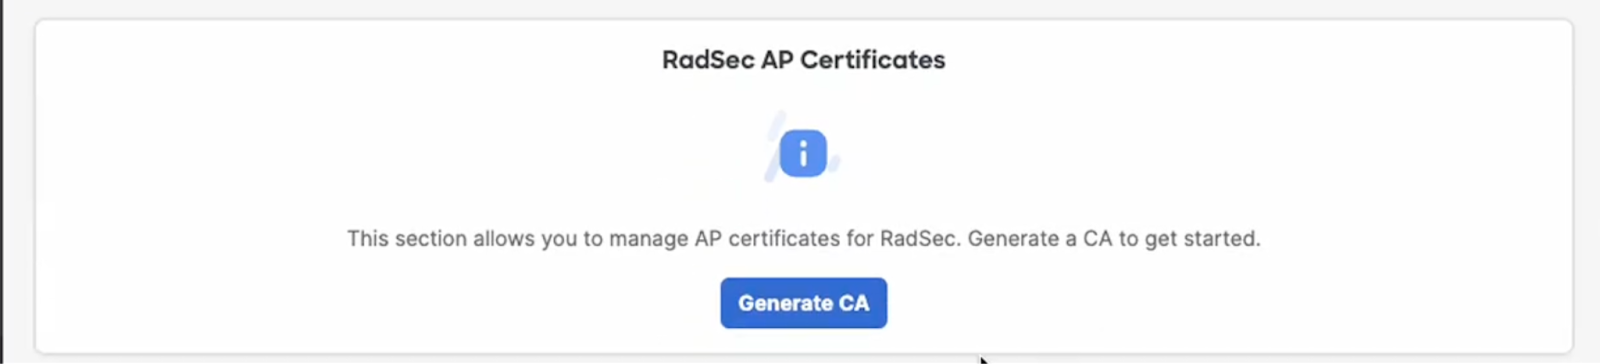
- Select Generate CA, then Trust root Certificate Authority.
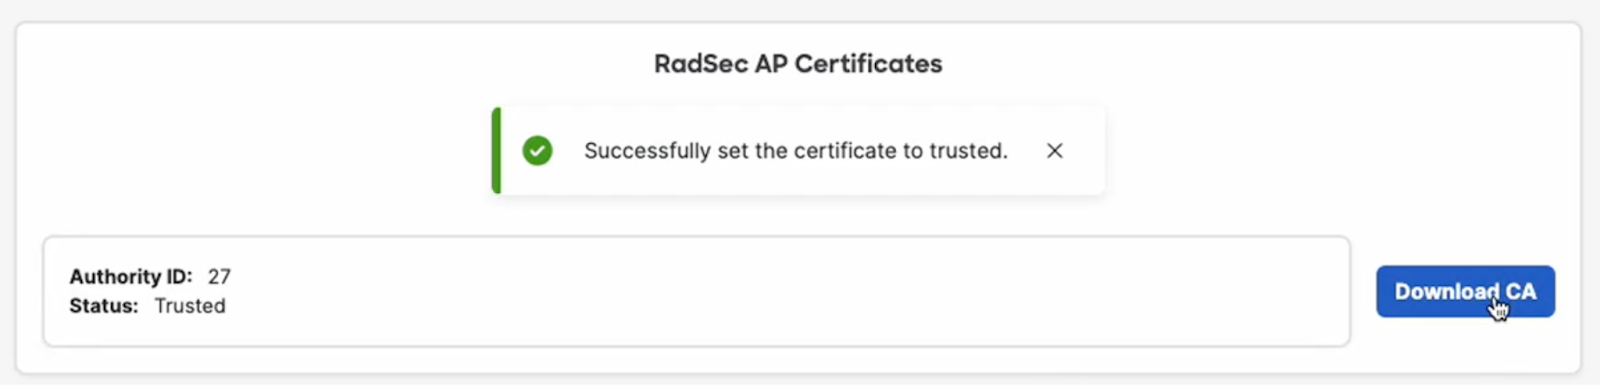
- Select Download CA.
- Select Wireless > SSIDs.
Enable your preferred SSID, rename and select edit settings. - On the Access control page, under Security, select MAC-Based access control (no encryption).
- On the Access control page, under Splash page, leave None selected.
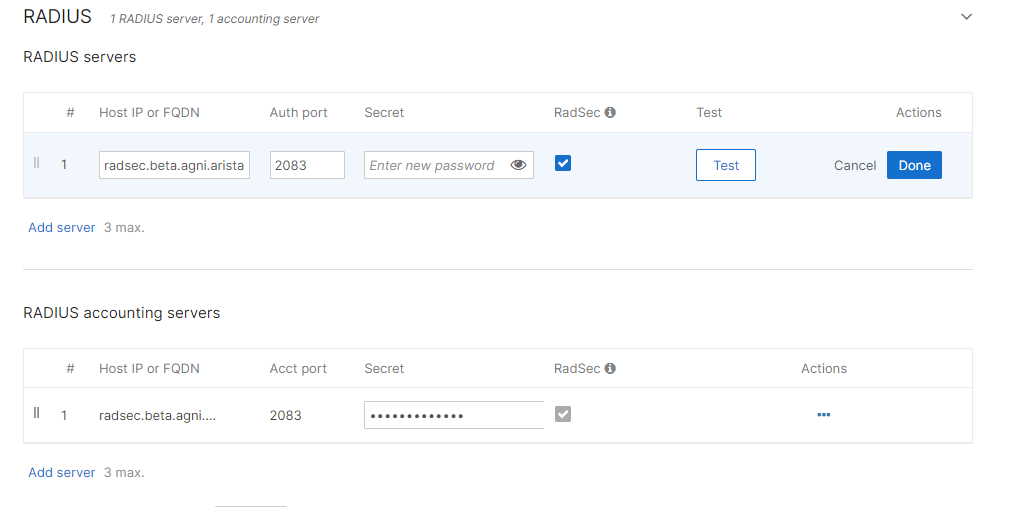
- Expand the RADIUS section, Select Add server.
Host IP or FDQN: enter the RacSec Server Hostname from the note taken earlier from the AGNI portal.
Auth port: 2083
Secret: radsec
RadSec : Checked
Duplicate the same settings in the RADIUS accounting server's box.
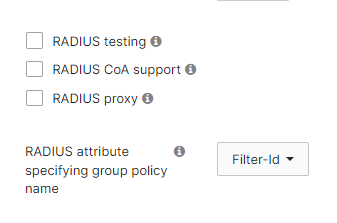
- Leave the following at default settings:
- Browse back to the AGNI portal and select Certificates > Trusted
Then +Add Certificate. Select Browse and locate the CA certificate file downloaded from the Meraki dashboard (AuthorityID.pem). Then Upload Certificate. - Next, browse to Networks under Access Control and select Wireless.
Select +Add Network.
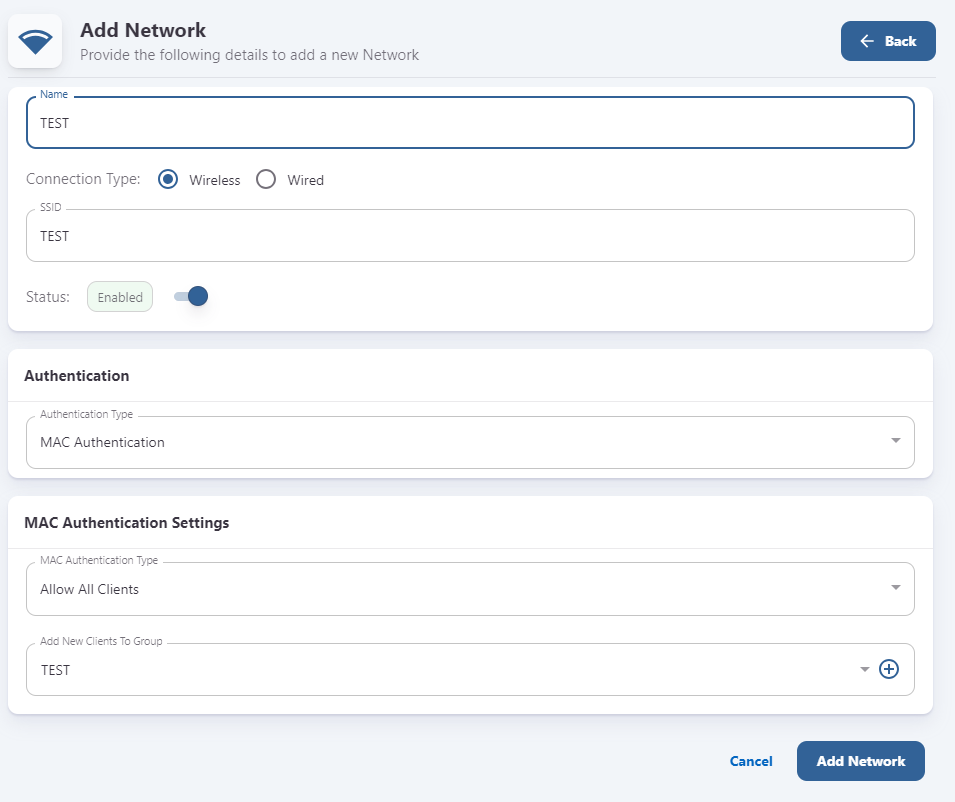
On the Add Network page, enter the following information.
Name: Choose a name for the network profile
SSID: Use the SSID information from Meraki
Authentication: Use the dropdown to select MAC Authentication
MAC Authentication Type: Allow All Clients
Add New Clients To Group: Create a group to associate clients that have authenticated using this method.
Select Add Network.
- Select Access Devices > Devices.
Then select Add or Import Devices.
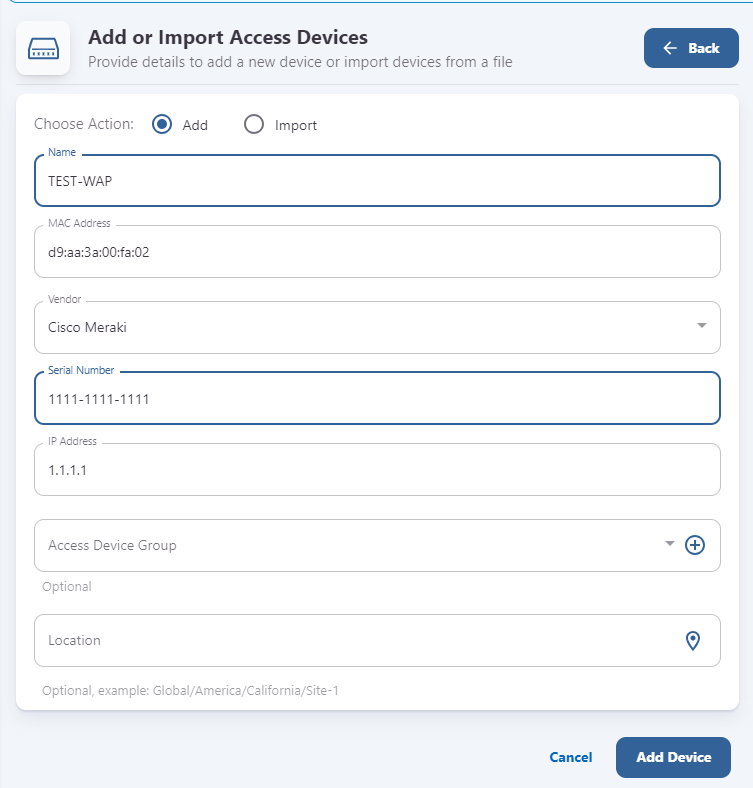
On the Add or Import Access Devices page, enter the following information.
Name: AP Name within Meraki
MAC Address: Meraki AP Mac Address.
Vendor: Select Meraki from the dropdown.
Serial Number: Meraki AP Serial Number
IP Address: Management IP address for the Meraki AP.
Then select Add Device.
- Attempt to connect to the wireless network from a device. Once the device connects, you should see the RadSec Connection Status reflect Connected.
More information can be found at the following links:
https://documentation.meraki.com/MR/Encryption_and_Authentication/MR_RADSec