Migrating Nutanix Files


Today, we will be Migrating Nutanix Files using Data Protection and simulating a site failover using the built in Nutanix DR tools for Files. This guide is broken down into 3 sections for logical separation, Prep Work, Initial Replication, and Cutover.
Prep Work
1. Document Client Side and Server side IP configuration of the existing file server. Allocate the proper addresses for the recovery site or migrated. Below is an example table of the data you will need to collect.
| Source IP | VLAN | Destination IP | VLAN | |
|---|---|---|---|---|
| Client Network | 192.168.1.10-13/24 | 100 | 192.168.10.10-13/24 | 200 |
| Storage Network | 192.168.2.10-13/24 | 101 | 192.168.11.10-13/24 | 201 |
Initial Replication
2. Create a storage container on the destination cluster. This is where we will replicate all data from the existing file server. Using the menu in Prism Element, select Storage. Create a new Storage Container by selecting + Storage Container.

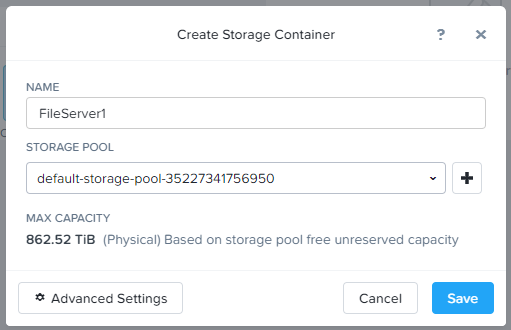
Name the container and click Save.
3. Using the menu in Prism Element on the destination cluster, select Data Protection. Create a new remote site by clicking + Remote Site, then Physical Cluster.
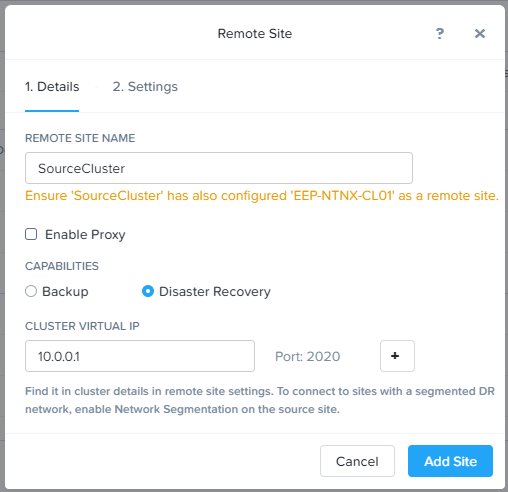
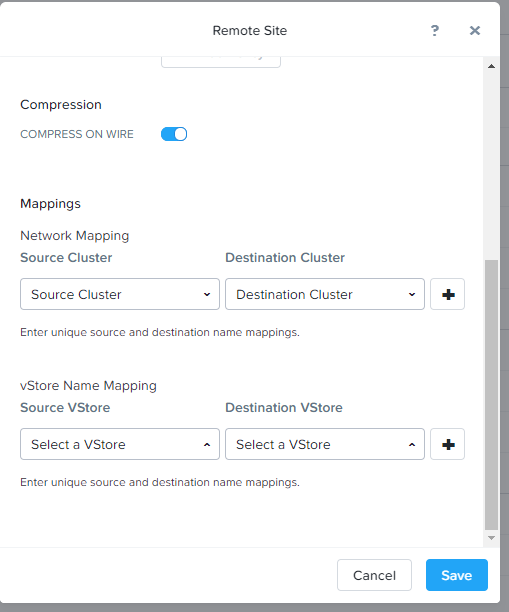
Once the site has been successfully added, create a mapping between the Source file server storage container and the newly created Destination storage container on your destination cluster. Then, Save the configuration.
4. From the source cluster Prism Element, Repeat the process in step 3 in the inverse direction on the source cluster to complete the Data Protection configuration. This will create the path for replication between the two clusters.
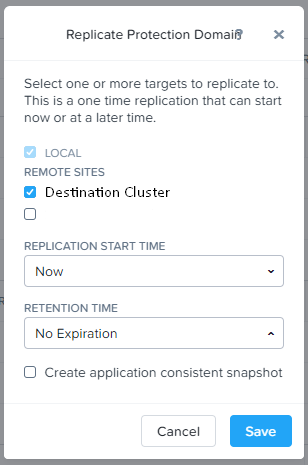
5. From the source cluster, Select Data Protection, then Table, and Async DR. Select the file server and then Take Snapshot. Select the checkbox next to your destination cluster and click Save. This will create the initial replication of the file server to the destination cluster.
Cutover
6. Once the initial replication is complete, its time to migrate!
From the source cluster, select Data Protection, then Table, and Async DR. Select the file server protection domain and click Migrate.
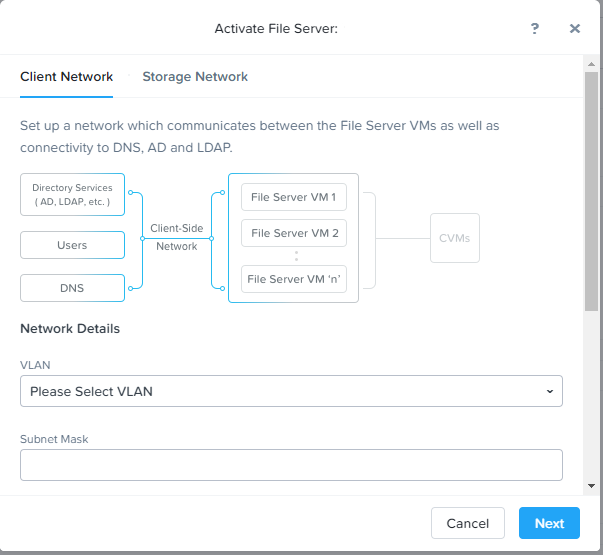
7. On the Destination cluster, select File Server from the menu, then select the File Server and click Activate.
Configure the Nutanix File server client network VLAN, Subnet, Gateway, IP, DNS and NTP settings.
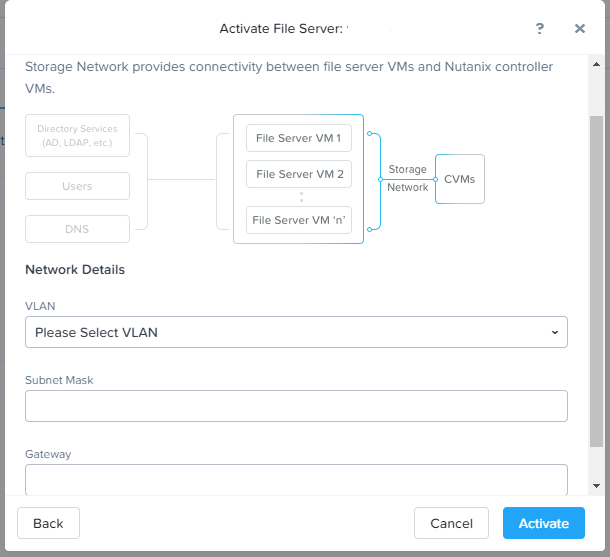
Configure the Nutanix file server client network VLAN, Subnet, Gateway, and IP settings. Then select Activate. This will start several tasks creating new FSVM's on your cluster, configuring them, and connecting them to the container where the data was replicated.
If any IP addresses were changed, update your DNS server with the new records.