Replacing NICs on Nutanix AHV
Replacing nics on Nutanix AHV.

I recently came across a scenario that required me to replace the NIC's on a series of Dell XC series Nutanix nodes. We previously had X710 NIC's installed but ran across an incompatibility between Cisco Nexus 7k, the Intel X710 NIC's, Dell's XC 740xd, and Nutanix AHV. The issue causes NIC throughput to drop to virtually nothing. The unfortunate side affect of a node being online, but unable to service storage requests, the cluster storage repositories become unresponsive. Because we had very few nodes impacted by this issue, it was determined the quickest option was to replace the Intel x710 with Intel x520 NICs. This is how we did it.
- Identify all nodes with the x710 NICs. Hosts returning with ERROR do not have X710 NICs.
nutanix@cvm:~$ hostssh 'lspci | grep -i 'X710''
============= 172.20.10.26 ============
05:00.0 Ethernet controller: Intel Corporation Ethernet 10G 2P X710 Adapter (rev 01)
05:00.1 Ethernet controller: Intel Corporation Ethernet 10G 2P X710 Adapter (rev 01)
============= 172.20.10.24 ============
05:00.0 Ethernet controller: Intel Corporation Ethernet 10G 2P X710 Adapter (rev 01)
05:00.1 Ethernet controller: Intel Corporation Ethernet 10G 2P X710 Adapter (rev 01)
============= 172.20.10.31 ============
ERROR:root:Got Non Zero Return code 1 while executing cmd 'lspci | grep -i X710' on host 172.20.10.31
ERROR:root:stderr:
ERROR:root:stdout:
============= 172.20.10.32 ============
ERROR:root:Got Non Zero Return code 1 while executing cmd 'lspci | grep -i X710' on host 172.20.10.32
ERROR:root:stderr:
ERROR:root:stdout:
2.Place the cvm in maintenance mode and perform a cvm shutdown.
3. Enter maintenance mode on the ahv node and perform an ahv shutdown.
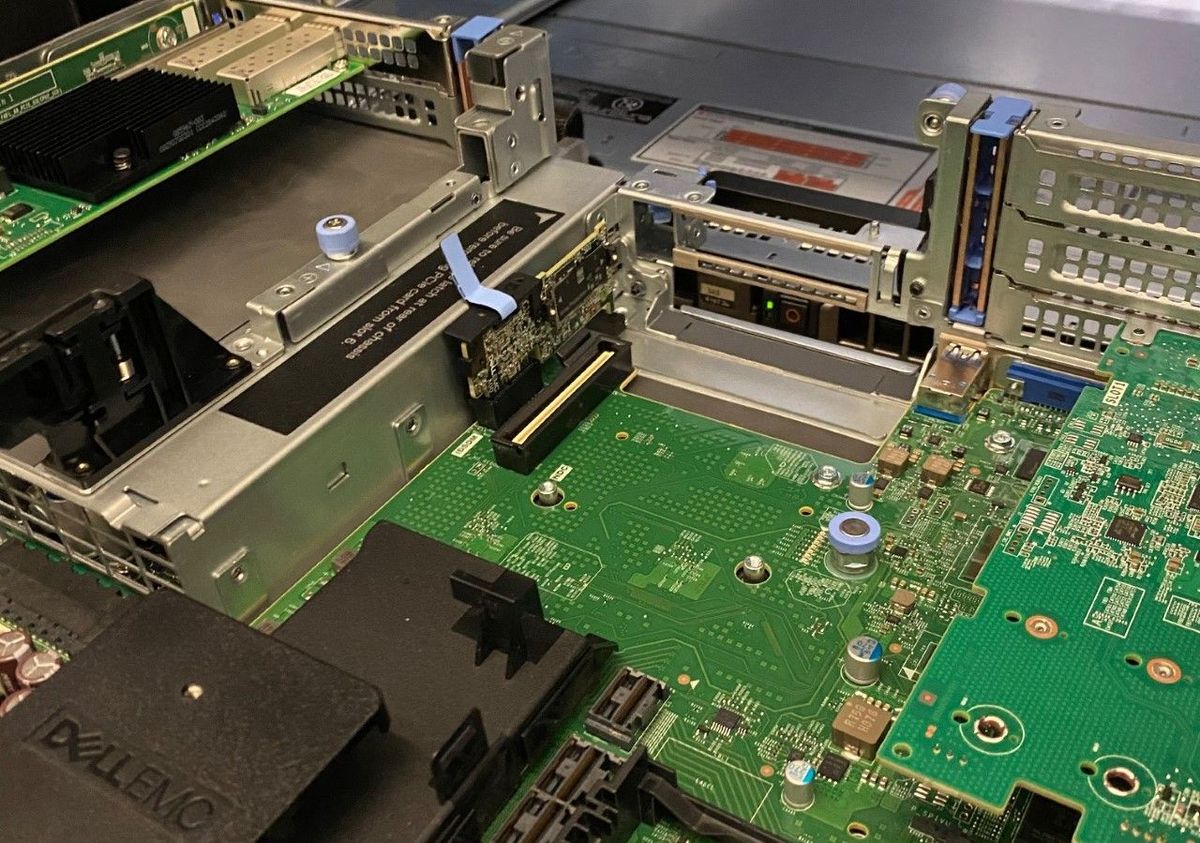
4. Physically replace the NIC cards on the hardware.
5. Boot the node and connect via iDrac/IPMI to a console session. The Dell Lifecyle controller should recognize the nics have been replaced and display a message on boot. Because the nic's were replaced, you will be unable to ssh to the node.
6. Login to the AHV node as root, and run the nic replace script. This script will re-name the new nics within centos, and replace the previously configured nics. It will not remove an ip configurations. It may require a reboot to complete reconfiguration.
root@ahv# /root/nic_replace7. Using the AHV console session, connect the the cvm via ssh.
root@ahv# ssh nutanix@cvm8. Check the OVS interfaces to validate True link status.
nutanix@cvm:~$ manage_ovs show_interfaces
name  mode  link speed
 eth0 10000  True 10000
 eth1 10000 False  None
 eth2  1000 False  None
 eth3  1000 False  None
 eth4 10000  True 10000
 eth5 10000 False  None
idrac     0  True  None
9. Validate the nics with true status are configured in OVS as uplinks. If they are not, move on to step 10. Otherwise, your done!
nutanix@cvm:~$ manage_ovs show_uplinks
Bridge: br0
  Bond: br0-up
    bond_mode: active-backup
    interfaces: eth5 eth4 eth1 eth0
    lacp: off
    lacp-fallback: true
    lacp_speed: off
10. Add nics to the ovs bridge. The following command adds all 10Gbps nics to the ovs bridge br0.
nutanix@cvm:~$ manage_ovs --bridge_name br0 --interfaces 10g update_uplinks